Activity
Plant your own Past Continuous Tense Forest
GRADE LEVEL: Elementary School (4-5), Middle School (6-8), High School (9-12), College and Beyond
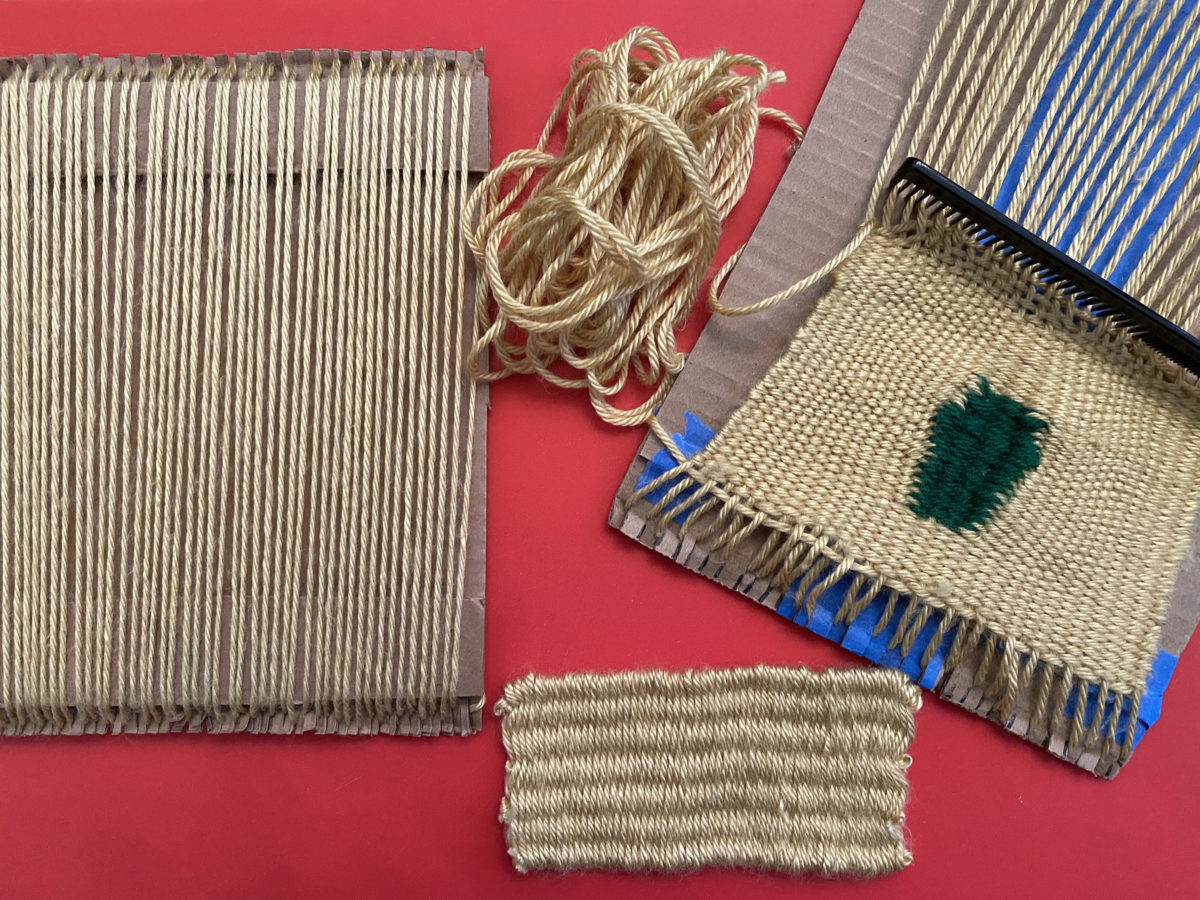
One way to appreciate a work of art is to attempt the art form yourself. Known as the “weaver’s weaver,” Kay Sekimachi (American, b. 1926) resurrected fiber as a medium of artistic expression in the 1960s. In this activity, create your own weaving loom with cardboard and then weave your own textile project. As you construct your loom and learn the labor-intensive process of weaving, you might begin to wonder how Sekimachi was able to create her famous three-dimensional structures.
Loom: A loom is the structure that you use to give your weave support and tension as you work. Once your weave is complete, you will cut it off the loom and your weave will have its own structure.
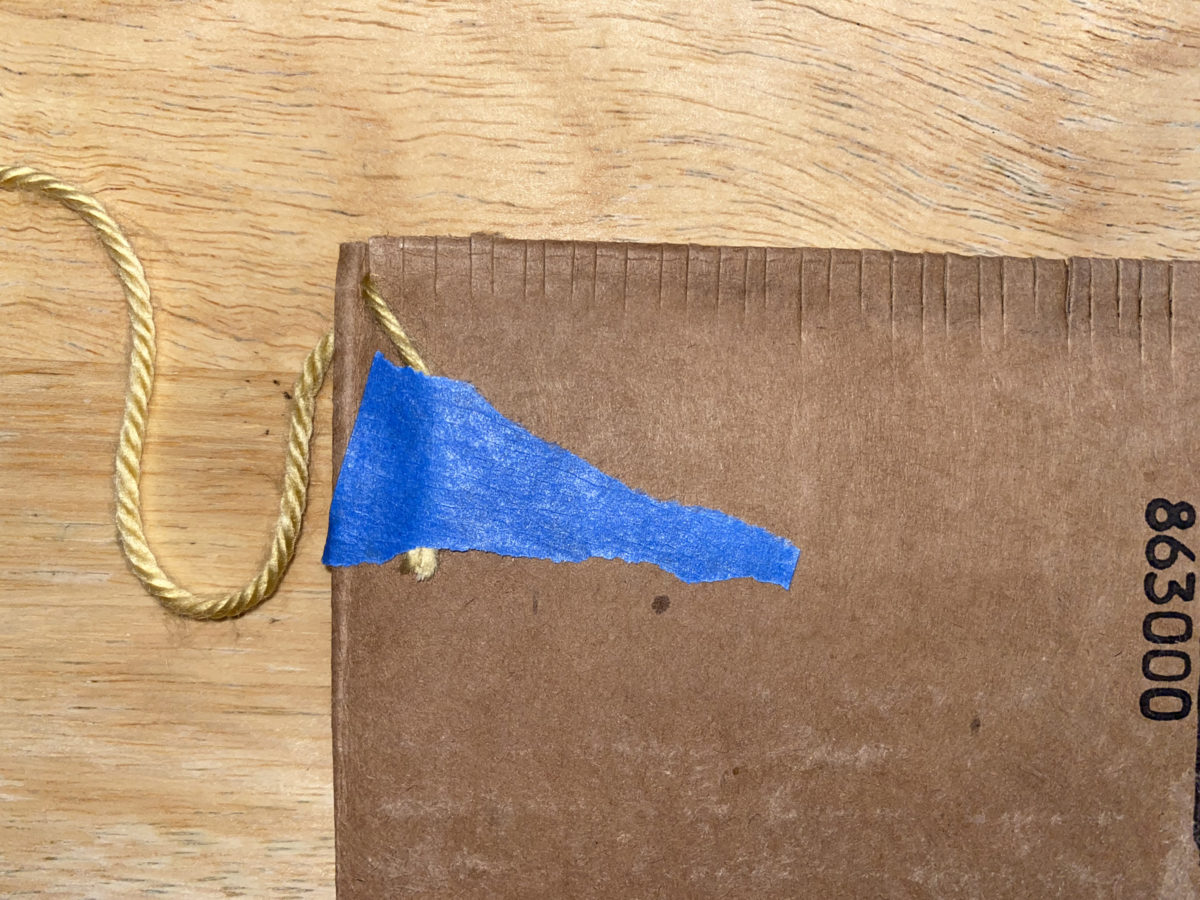
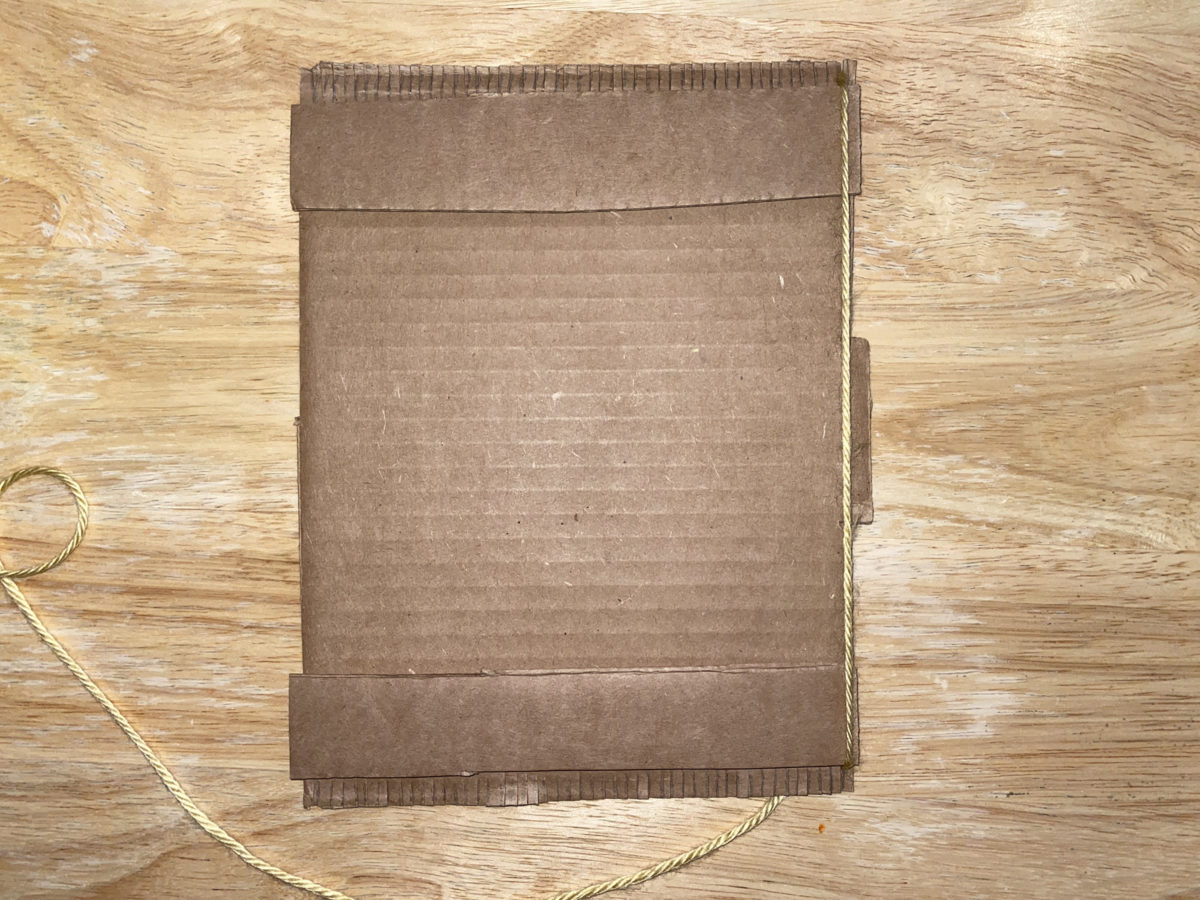
Warp thread: This is the thread that is strung over the loom vertically and holds the tension while you weave.
Weft thread: This is the thread that you weave between the warp threads, creating your patterns and structure in the weave.
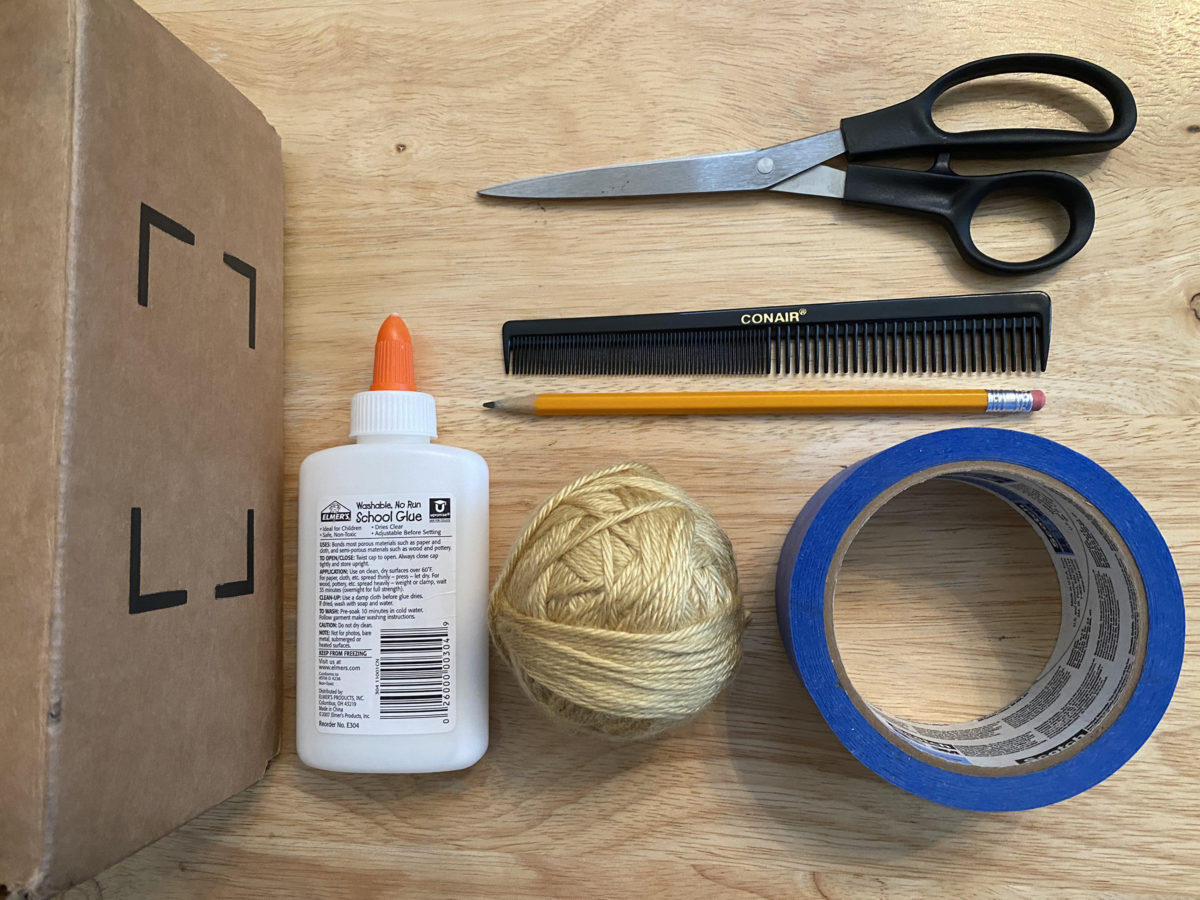
• Safety scissors
• Sturdy cardboard box
• Pencil
• Yarn
• Tape and/or glue
• Comb (optional)
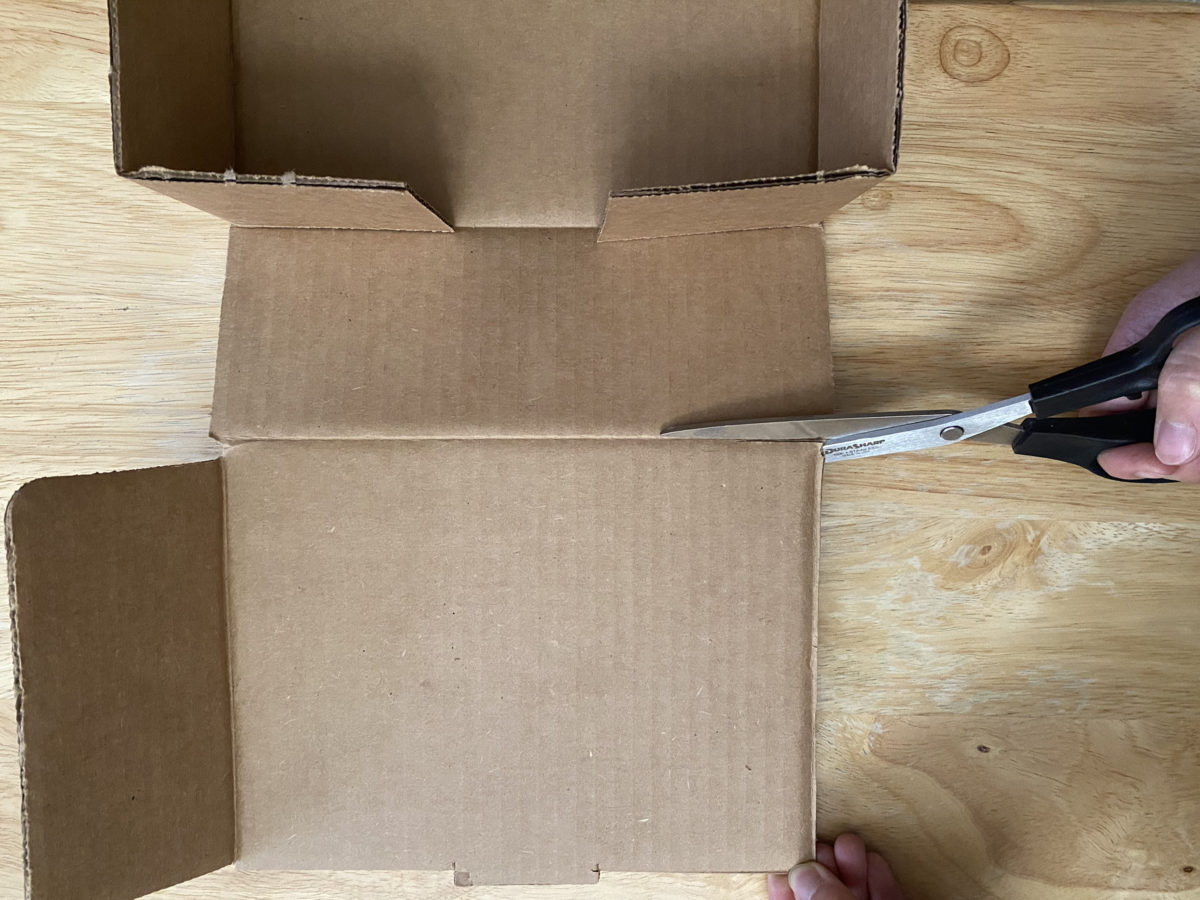
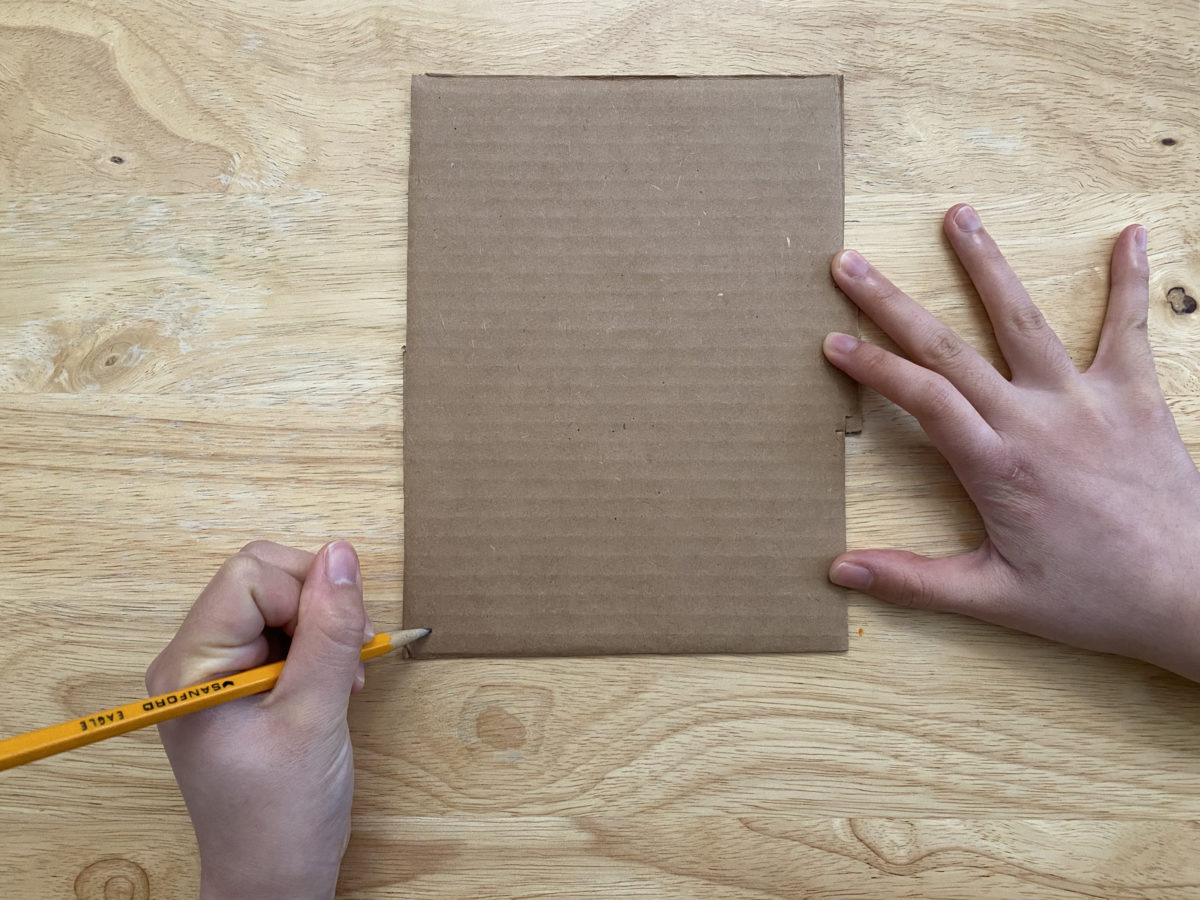
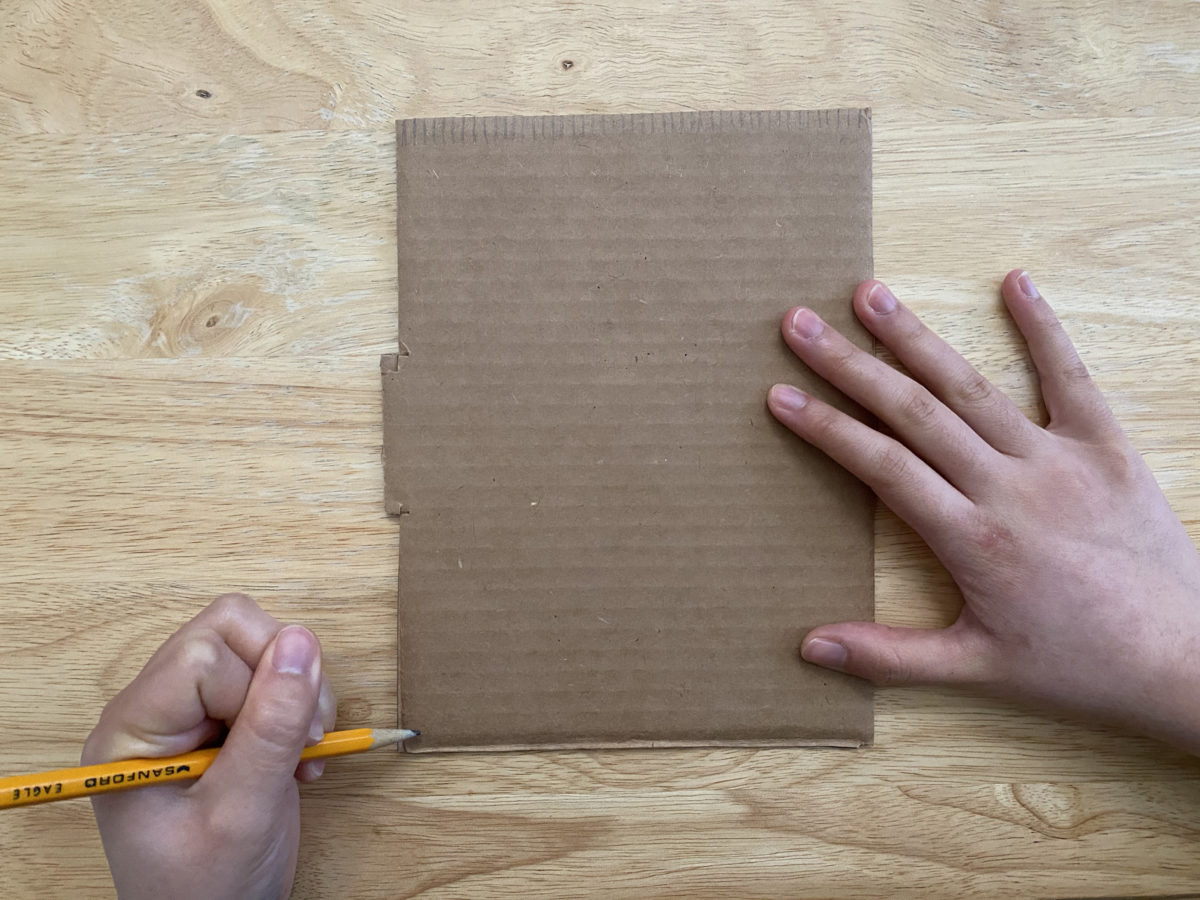
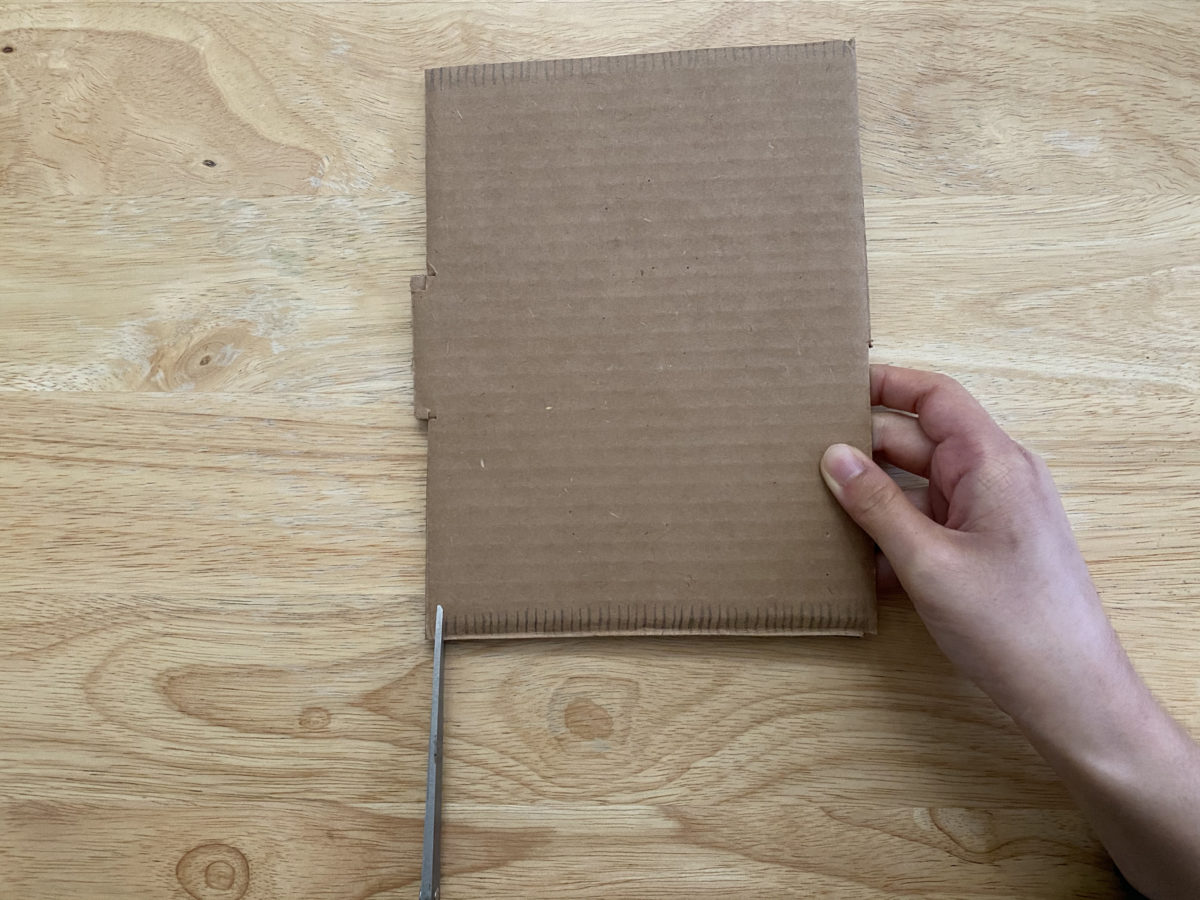
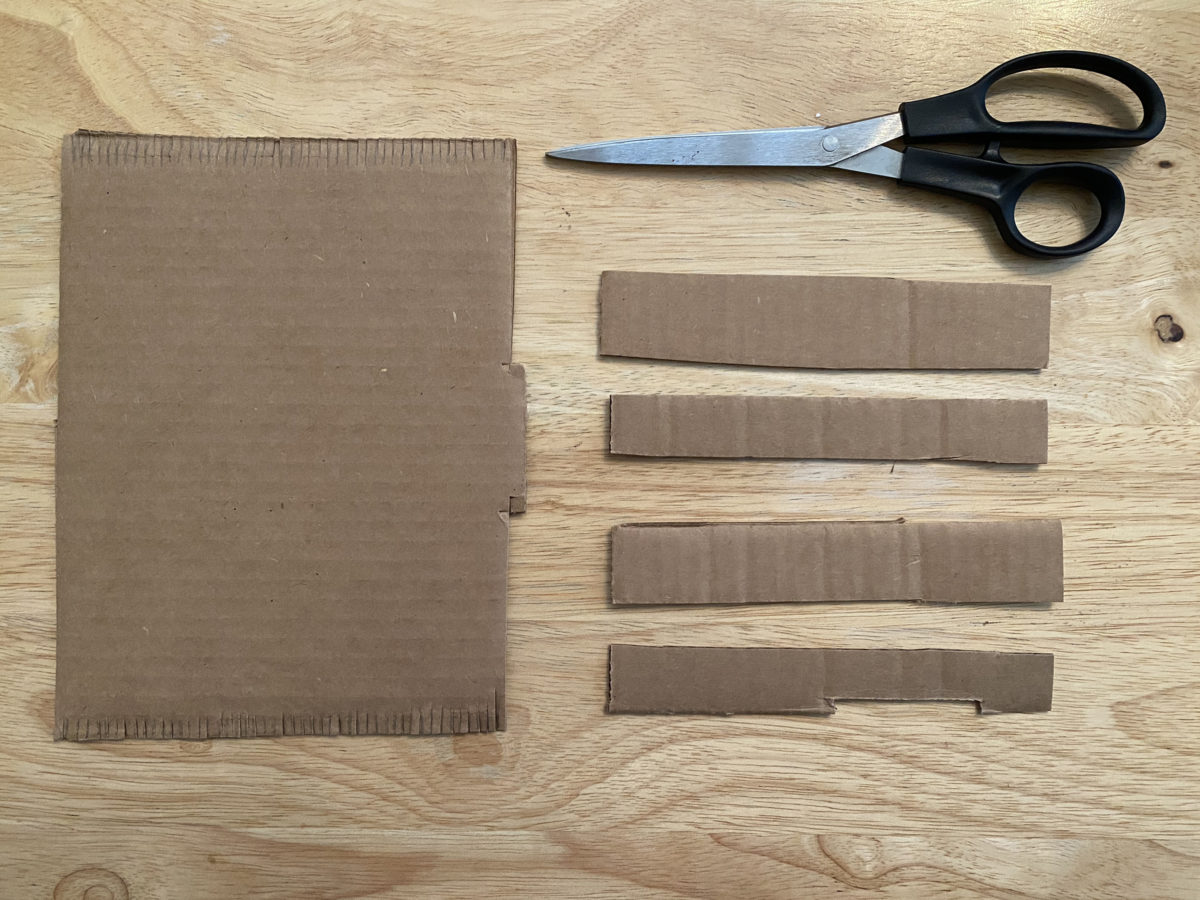
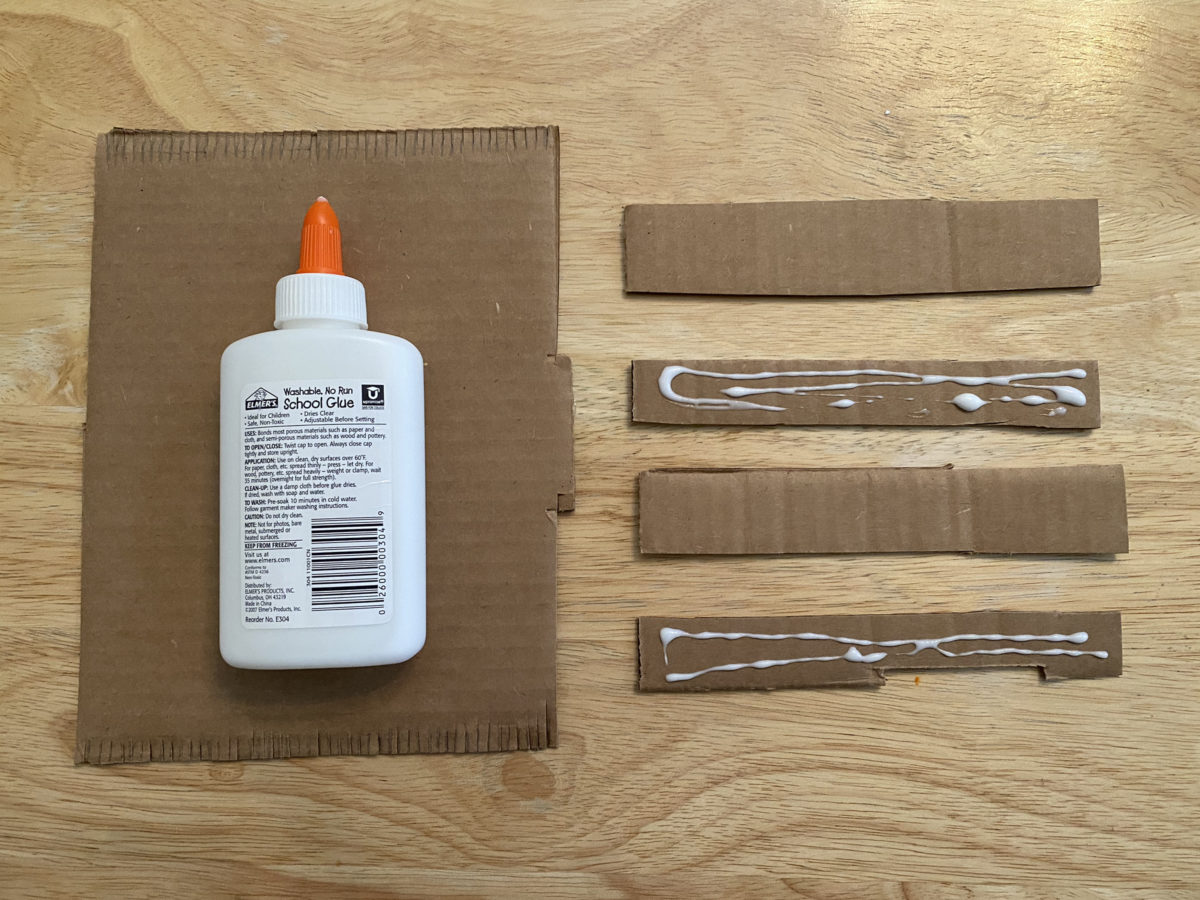
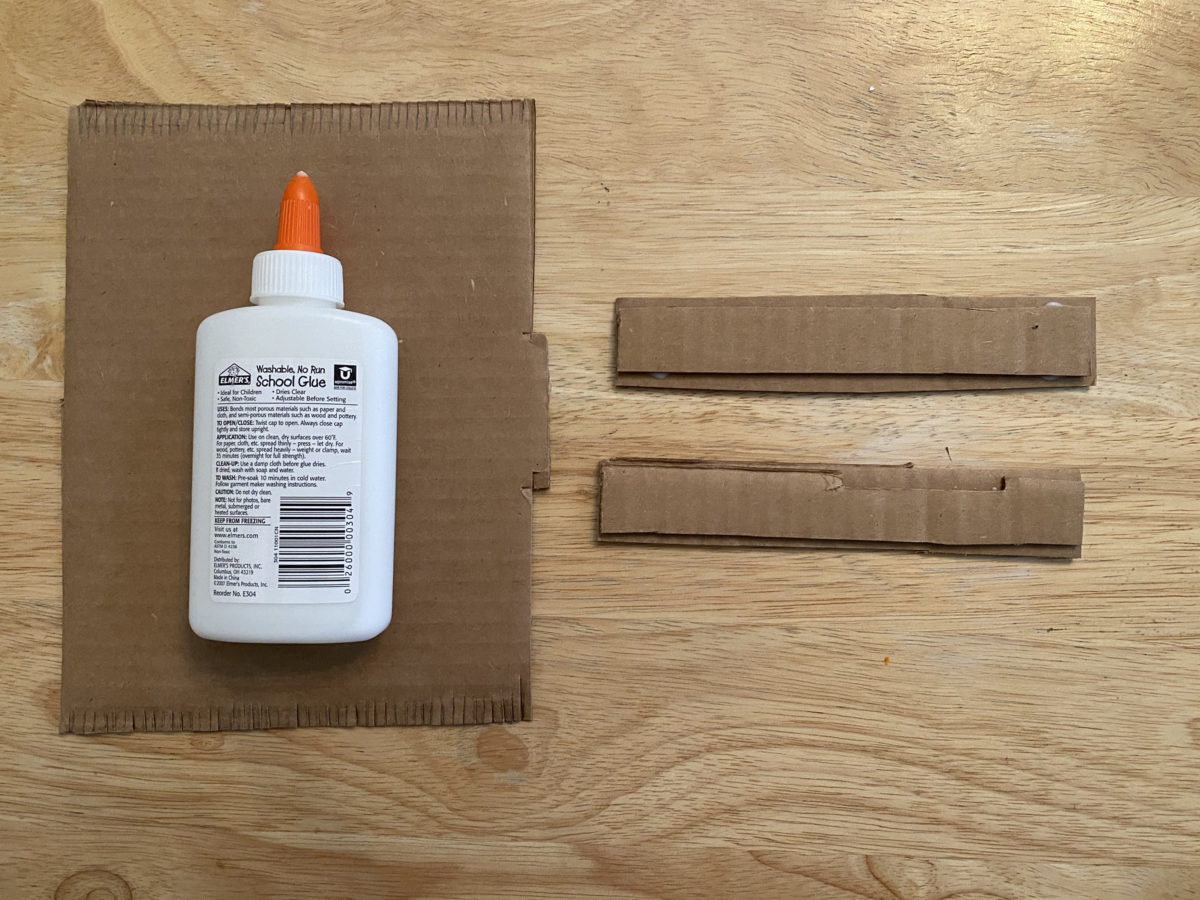
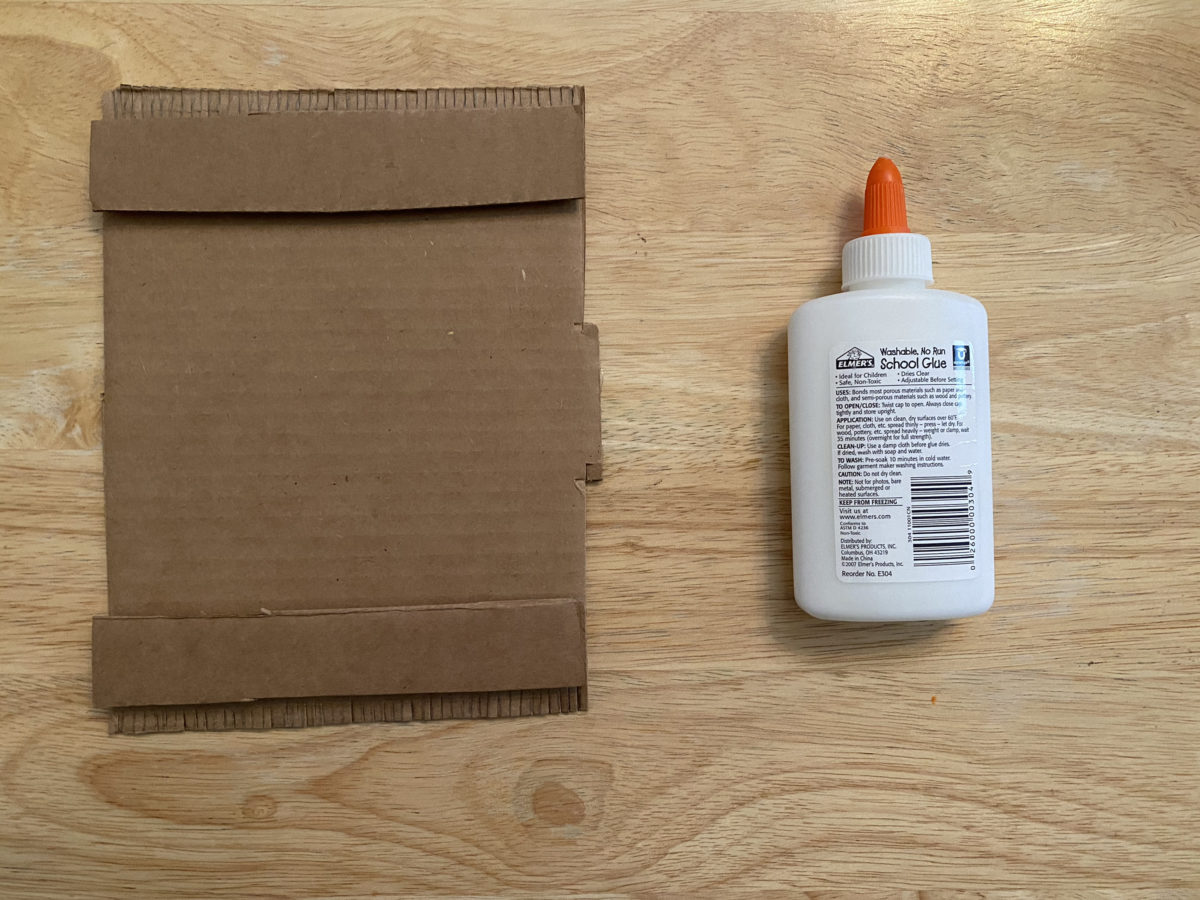
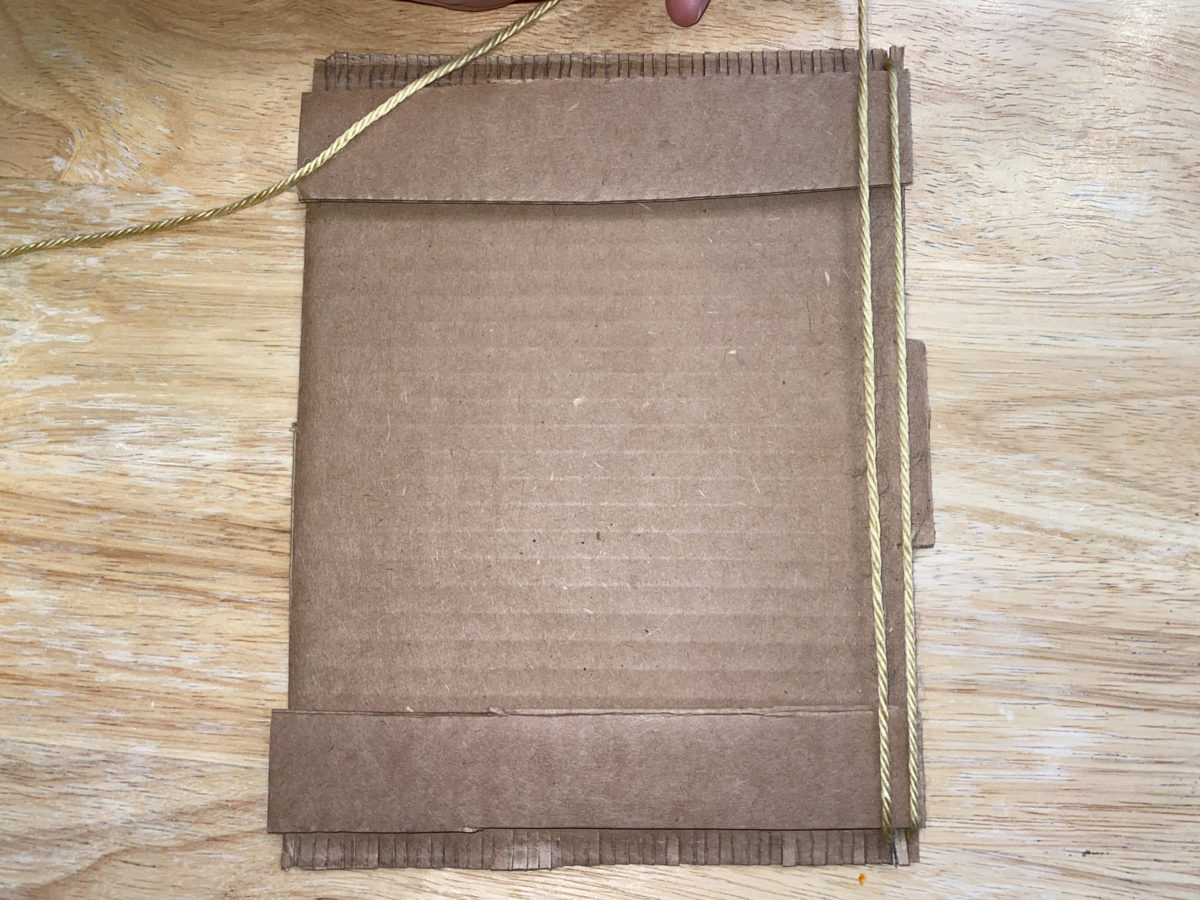
Building the Loom
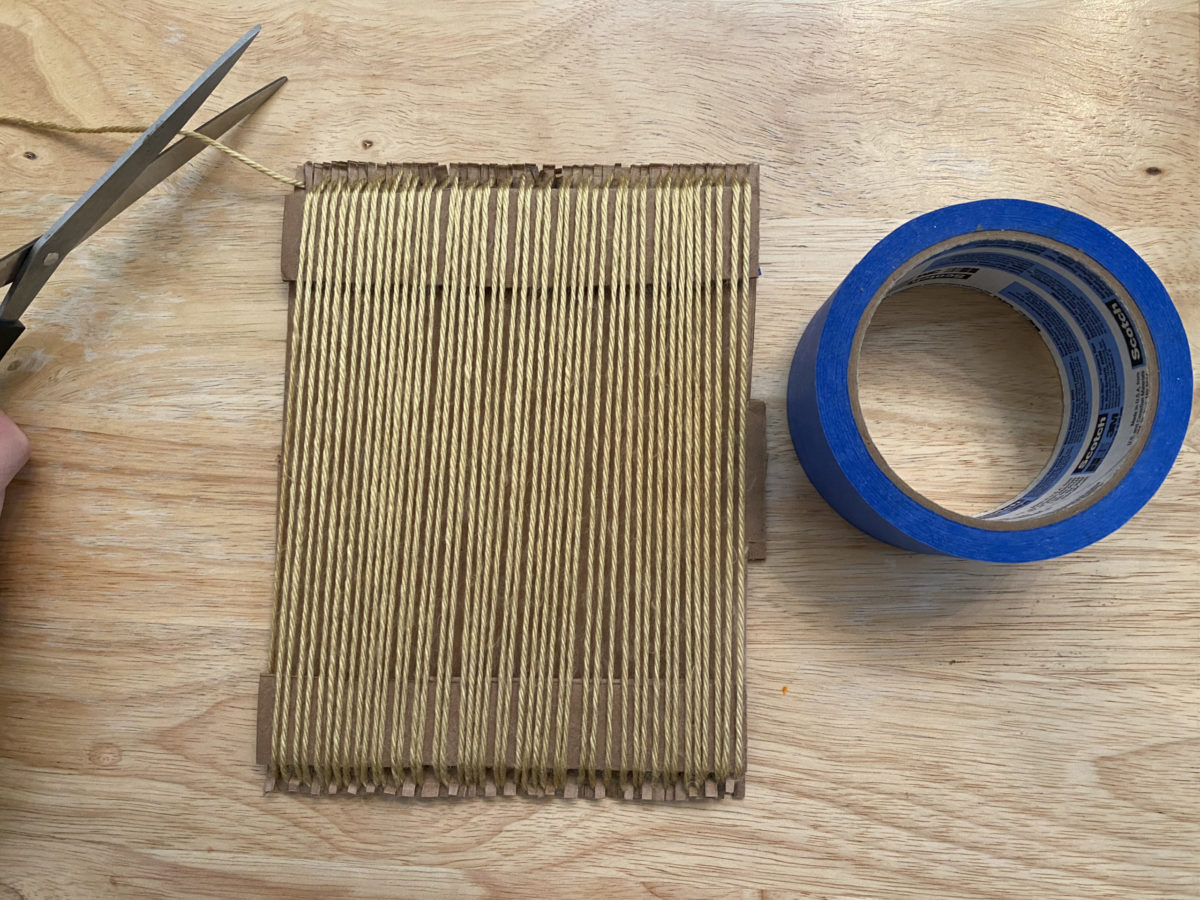
Dressing the Loom
Explore the different resources on weave designs below and begin your textile project.
Activity
Activity
Activity
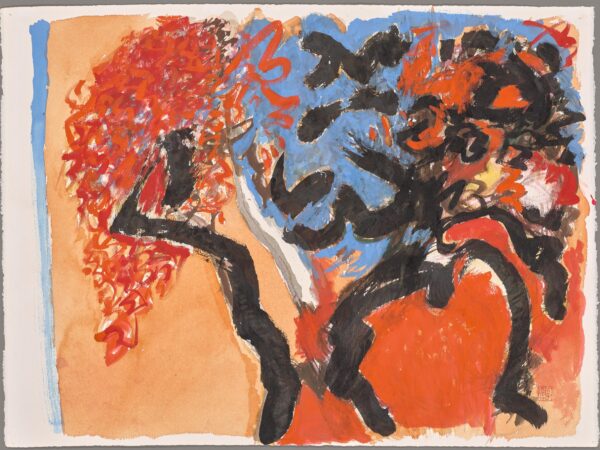
In this activity, you will create an art piece inspired by the work of Bernice Bing.
Activity
In this activity, you will explore Bernice Bing’s use of calligraphy in her paintings and then create your own!
Activity
Activity
Activity
Learn about the form of poetry called the pantoum and then write one of your own!
Activity
The imagery on a samurai’s armor expresses that samurai’s identity and source of inspiration or empowerment. Is there an image you connect with most?
Activity
If you were to design a bronze vessel for a friend who has done something important for you, what shape would you make it? How would you decorate it? Would you use designs like the ones on the bronze vessels in the museum? What would you inscribe on it?