Activity
Plant your own Past Continuous Tense Forest
GRADE LEVEL: Elementary School (4-5), Middle School (6-8), High School (9-12), College and Beyond
Objective: Students will draw their favorite small hero from the Philippine folk tale “Odon the Giant.”
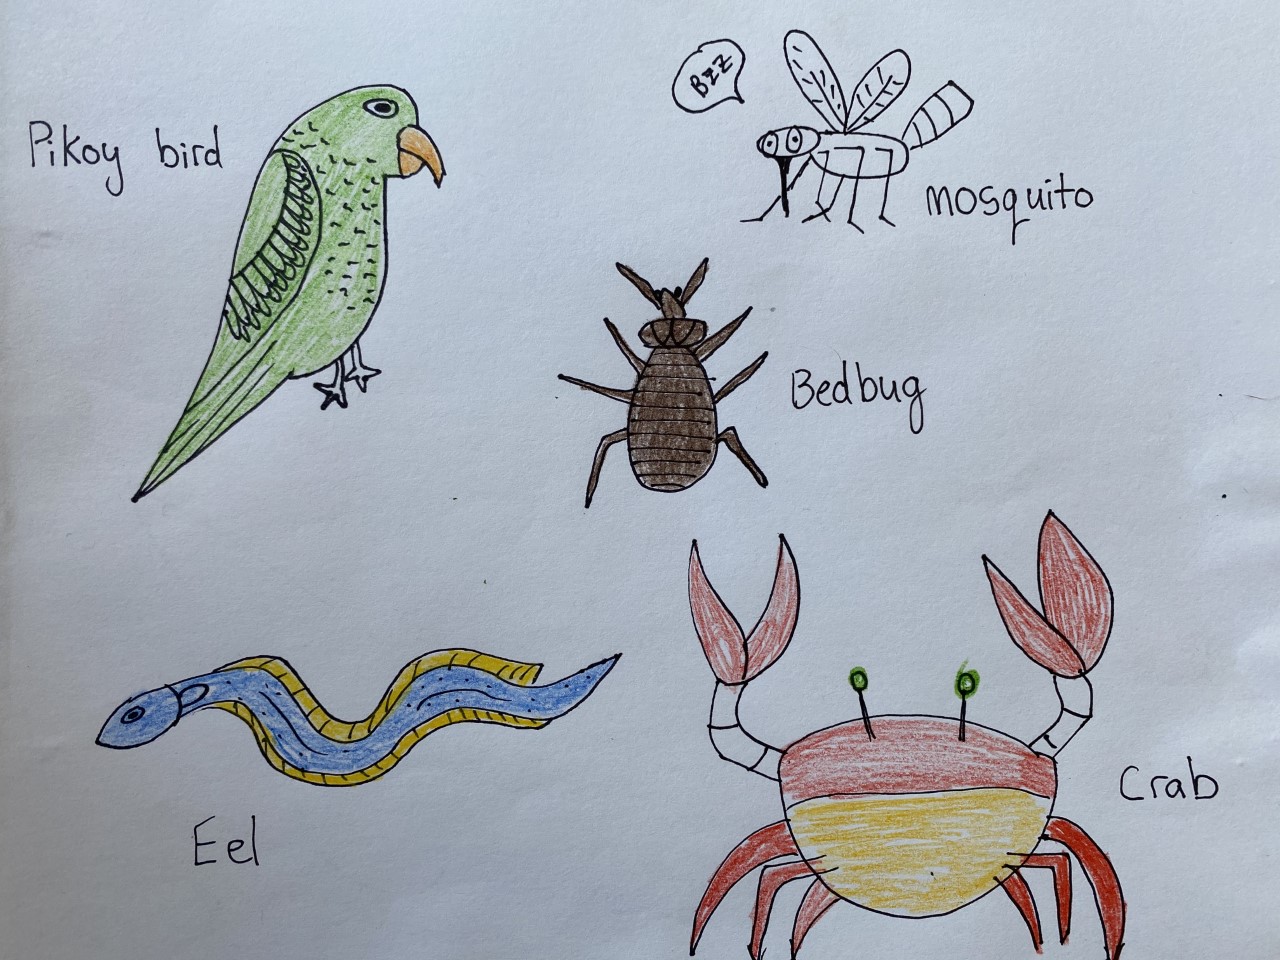


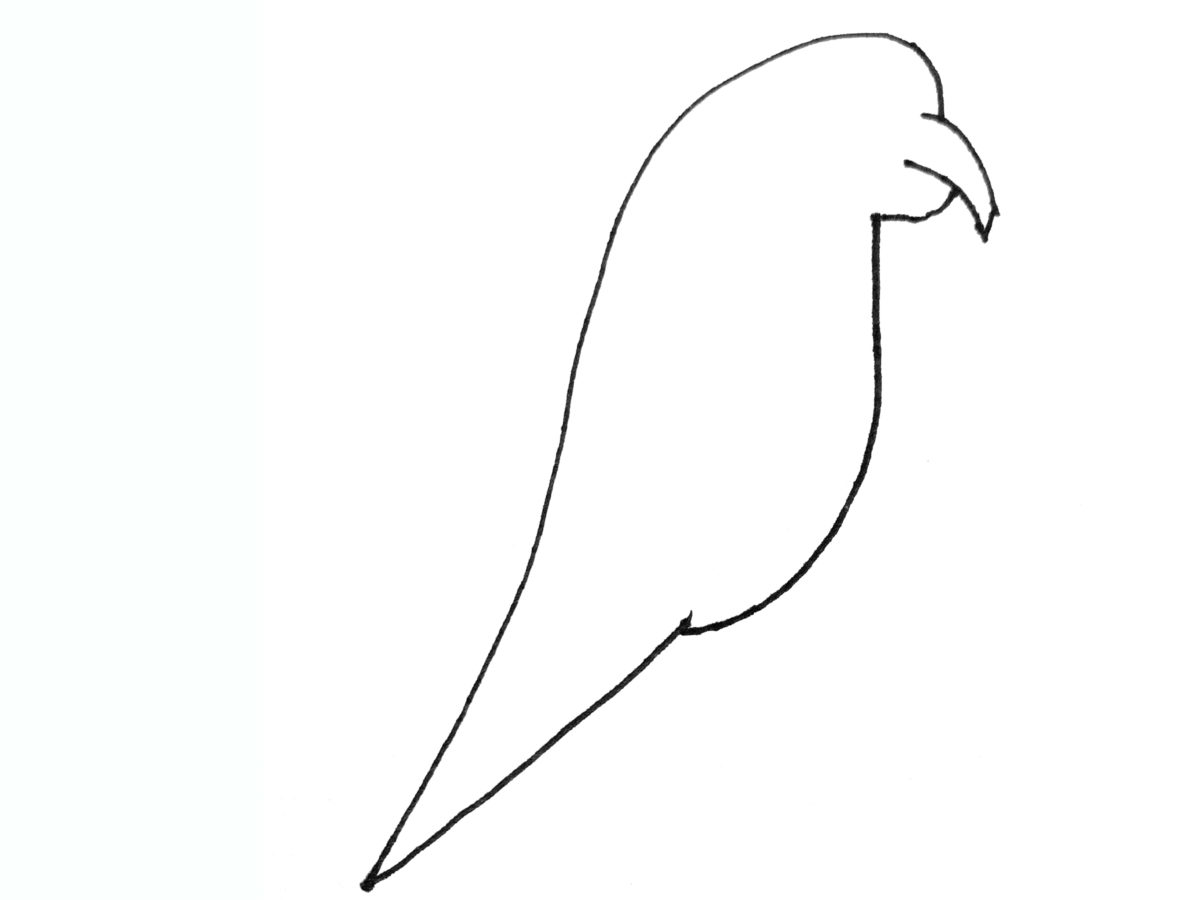
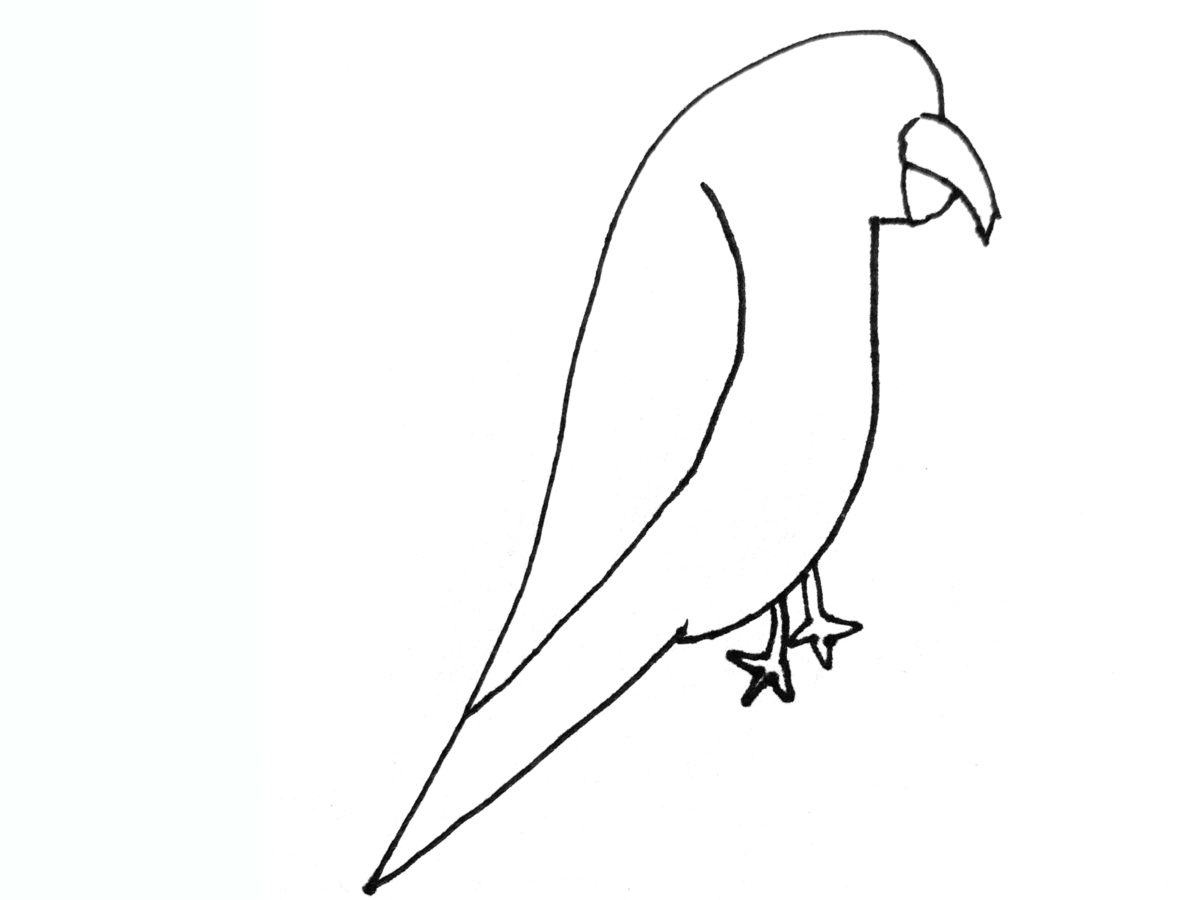
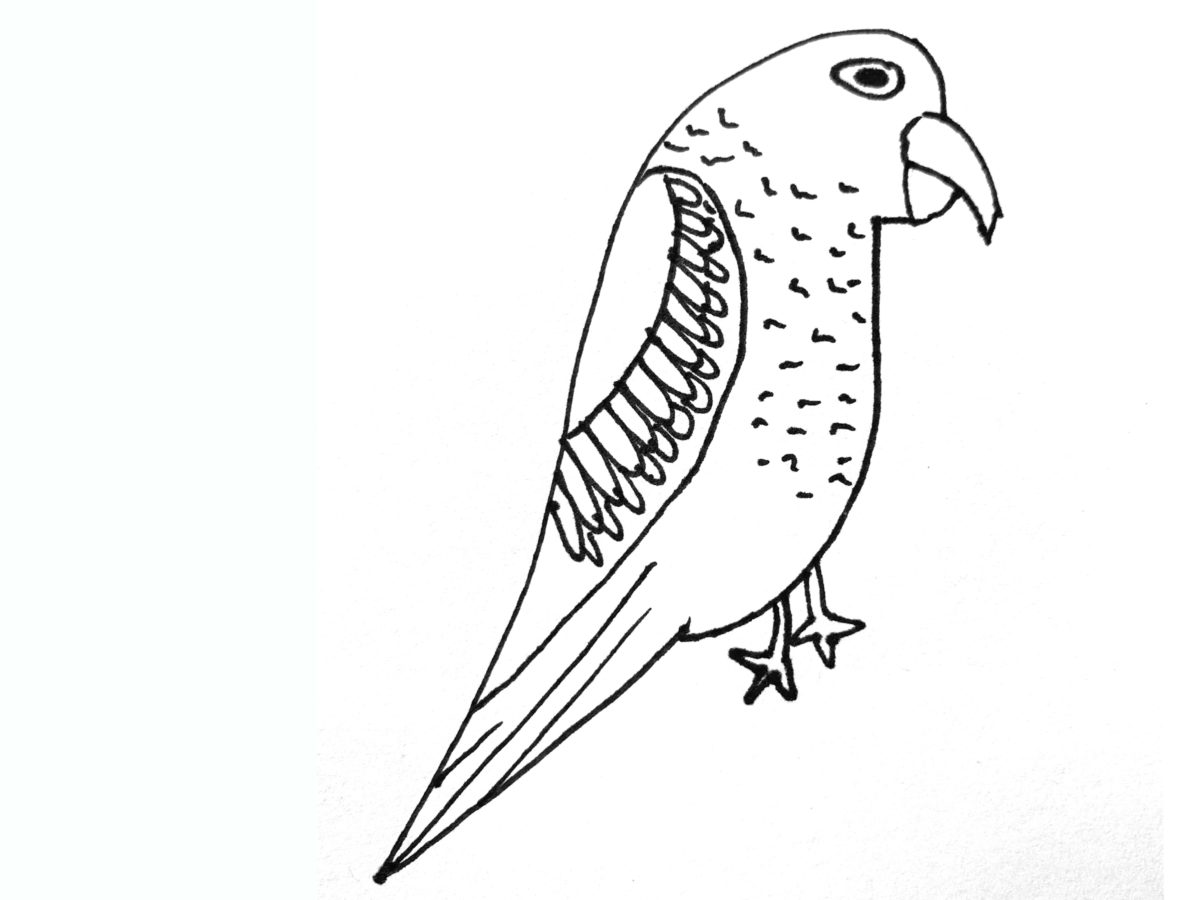
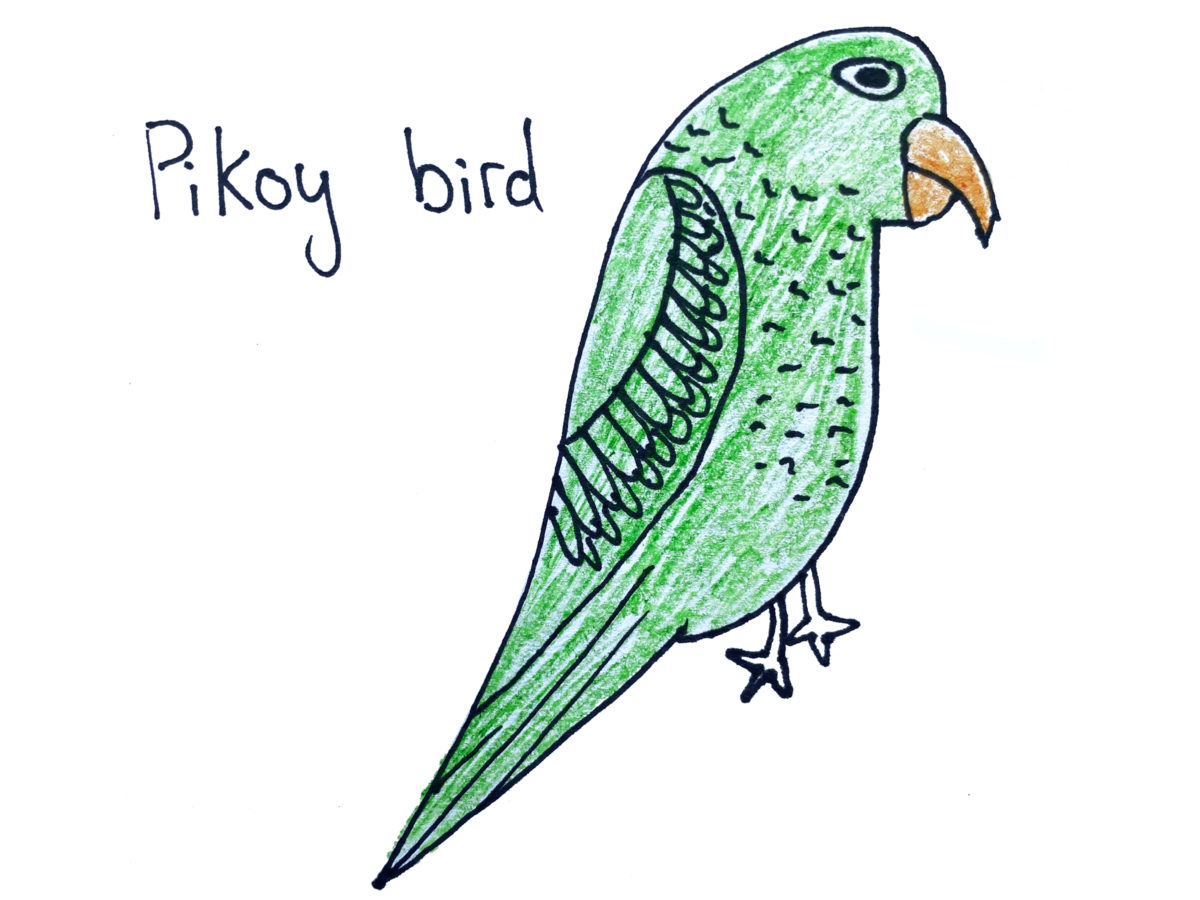


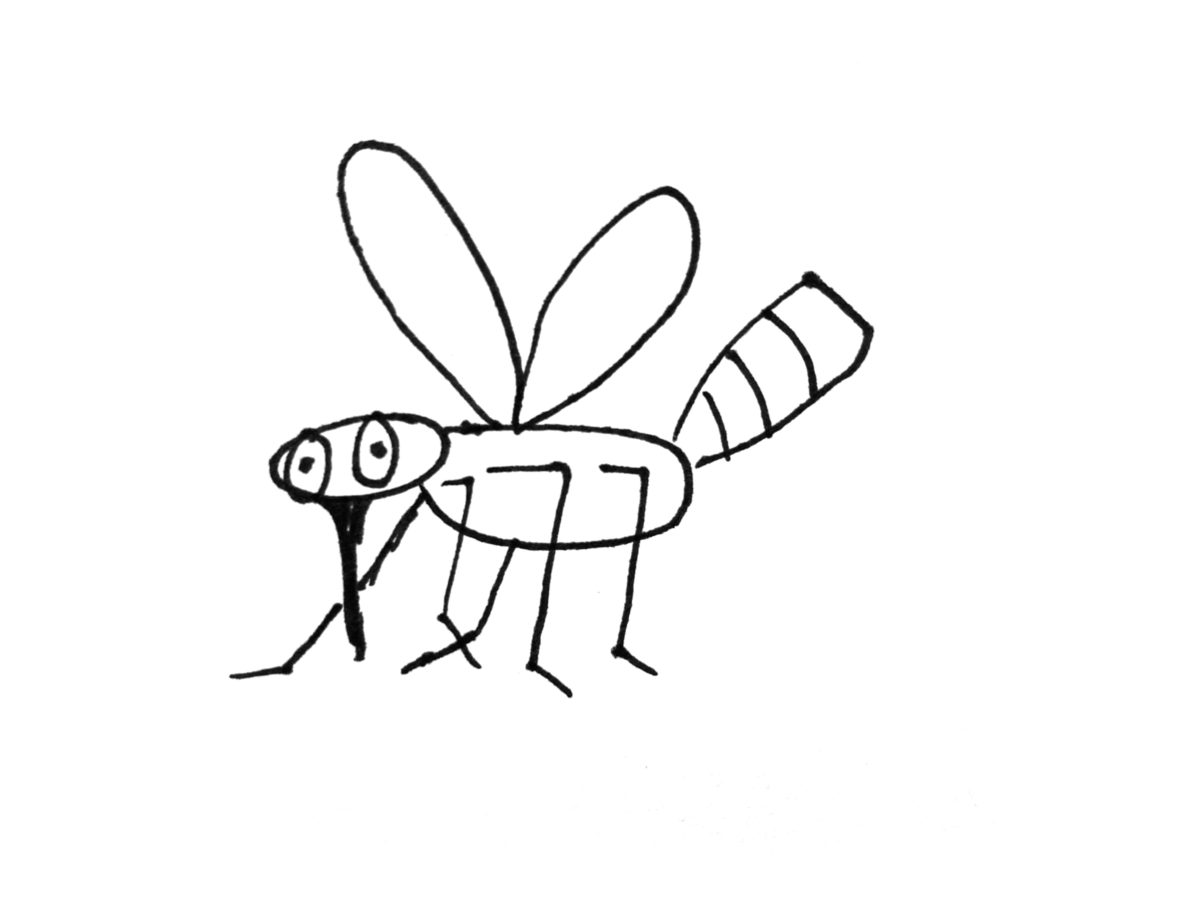
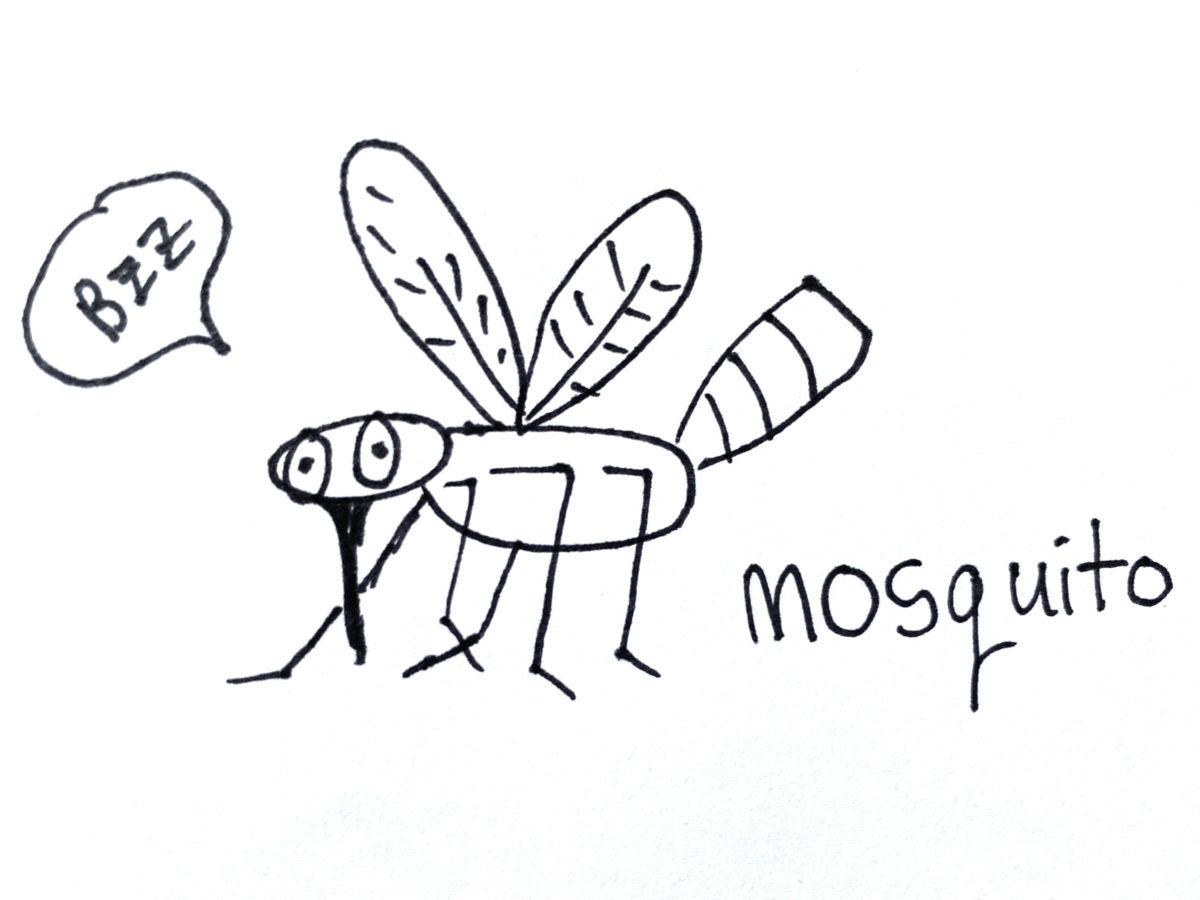

In the story “Odon the Giant,” five small friends come together to drive the mean giant out of town using their special strengths! Draw your favorite unlikely hero or all five of them working together in this art project.
Activity
Activity
Video
Activity
Activity
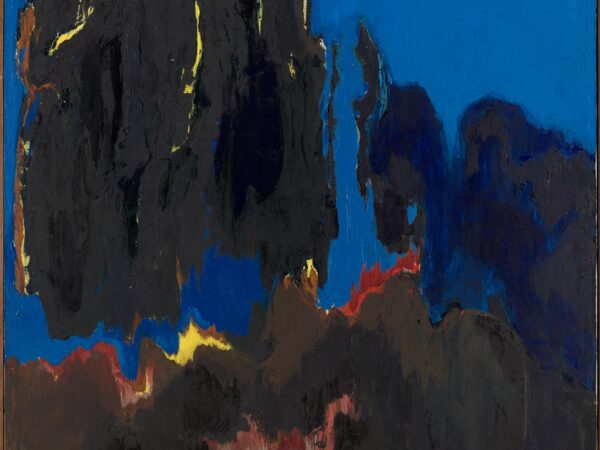
In this activity, you will create an art piece inspired by the work of Bernice Bing.
Activity
Activity
Activity
Learn about the form of poetry called the pantoum and then write one of your own!
Activity
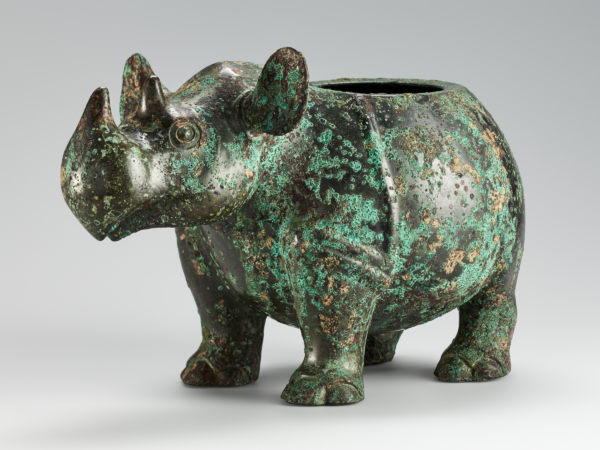
If you were to design a bronze vessel for a friend who has done something important for you, what shape would you make it? How would you decorate it? Would you use designs like the ones on the bronze vessels in the museum? What would you inscribe on it?
Activity
How would you answer Chanel Miller’s “I was, I am, I will be” prompt? Would your answers look like Miller’s, or would they look different?