Activity
Plant your own Past Continuous Tense Forest
GRADE LEVEL: Elementary School (4-5), Middle School (6-8), High School (9-12), College and Beyond

Standards:
Common Core Standards: W 4-5.9: Draw evidence from literary or informational texts to support analysis, refl ection, and research. W 8.2: Determine a central idea of a text and analyze its development over the course of the text, including its relationship to supporting ideas; provide an objective summary of the text.
Content Standards (California): HHS 7.5.3: Describe the values, social customs, and traditions prescribed by the lord-vassal system consisting of shogun, daimyo, and samurai and the lasting influence of the warrior code in the twentieth century. VPA/VA 2.2.1: Demonstrate beginning skill in the use of basic tools and art-making processes, such as printing, crayon rubbings, collage, and stencils. VPA/VA 5.4.2: Compare the different purposes of a specific culture for creating art.
Materials:
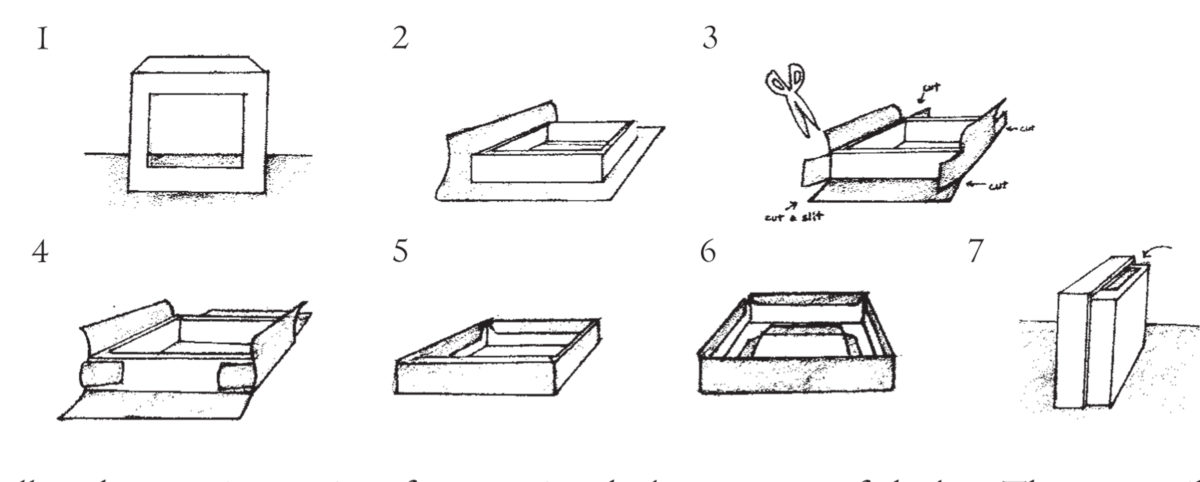
Mini-Kamishibai Box: A small box (jewelry boxes work the best), decorative paper, x-acto knife, glue, pencil, and a ruler; Mini-Kamishibai Cards: tag board or thick white paper, scissors, marker, color pencils, and crayons
Procedure:
Mini-Kamishibai Box
Mini-Kamishibai Cards
Extension Activity – Contextual Drama:
Pretend that the classroom is a suburb of Tokyo, Japan in 1930. The kamishibai storyteller (teacher) rides into town while clapping two wooden blocks together. The teacher pretends to sell candy lollipops to the children and begins to set up his/her kamishibai box. The storyteller begins a story with “Mukashi mukashi. . .” or “Once upon a time. . .” and tells a folk tale adventure using colorful illustrations to describe each scene. As the story reaches an exciting point, the storyteller stops and the children must wait in suspense until the storyteller visits the town again.
Teachers can build their own classroom kamishibai box and make color photocopy illustrations to be used for kamishibai. Teachers can also make regular “kamishibai visits” to the class so that students gain a sense of excitement and suspense that make kamishibai so much fun.
Activity
Activity
Activity
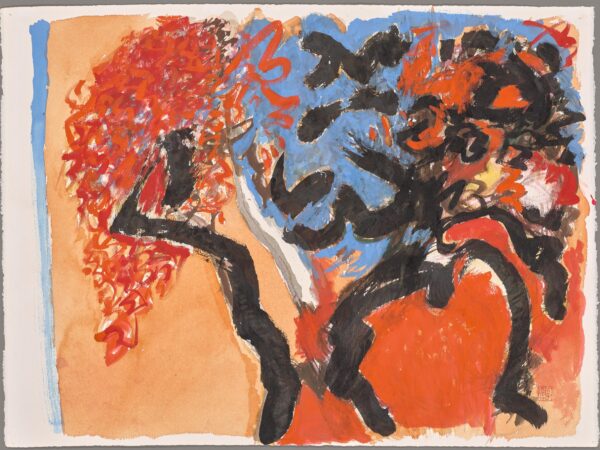
In this activity, you will explore Bernice Bing’s use of calligraphy in her paintings and then create your own!
Activity
Activity
Activity
Learn about the form of poetry called the pantoum and then write one of your own!
Activity
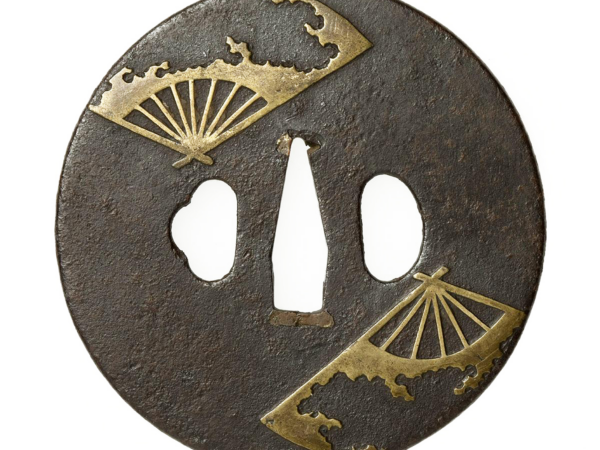
The imagery on a samurai’s armor expresses that samurai’s identity and source of inspiration or empowerment. Is there an image you connect with most?
Background Information
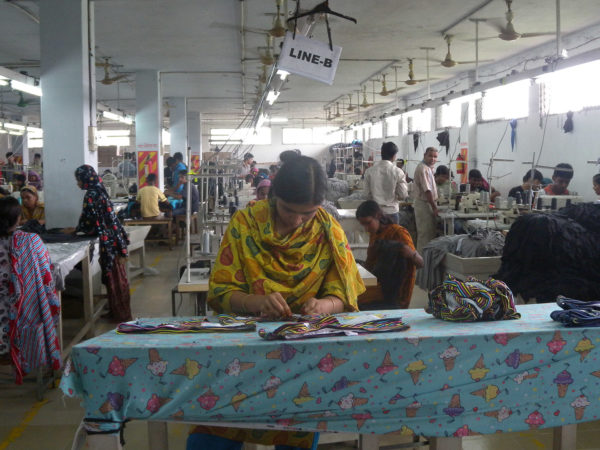
Tips and resources to inspire sustainable and slow fashion consumption.
Activity
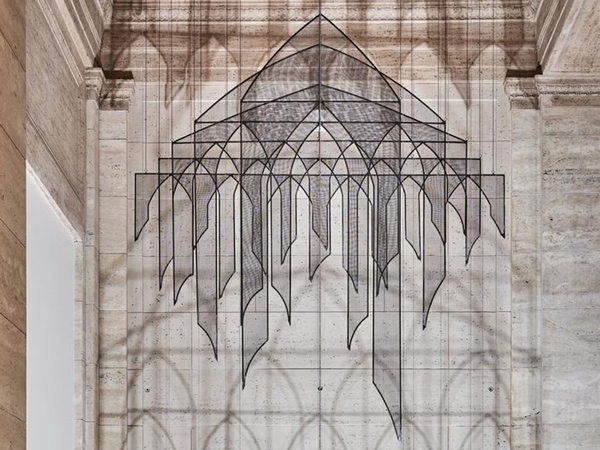
In this activity, you will create your own “space sculpture” out of found objects, light, and shadow.
Activity
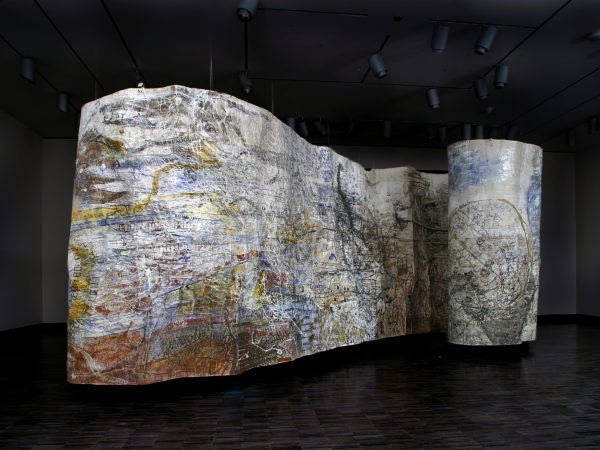
Personal Space (2001), a layered, dreamlike painting by Kolkata-based artist Jayashree Chakravarty, is an imaginary map built up from painted strips of paper. In this activity, create your own map based on your special place.