Activity
Plant your own Past Continuous Tense Forest
GRADE LEVEL: Elementary School (4-5), Middle School (6-8), High School (9-12), College and Beyond
Objective: Students will be able to identify, compare and contrast images of traditional Japanese woodblock prints. They will then create their own simulated woodblock prints.
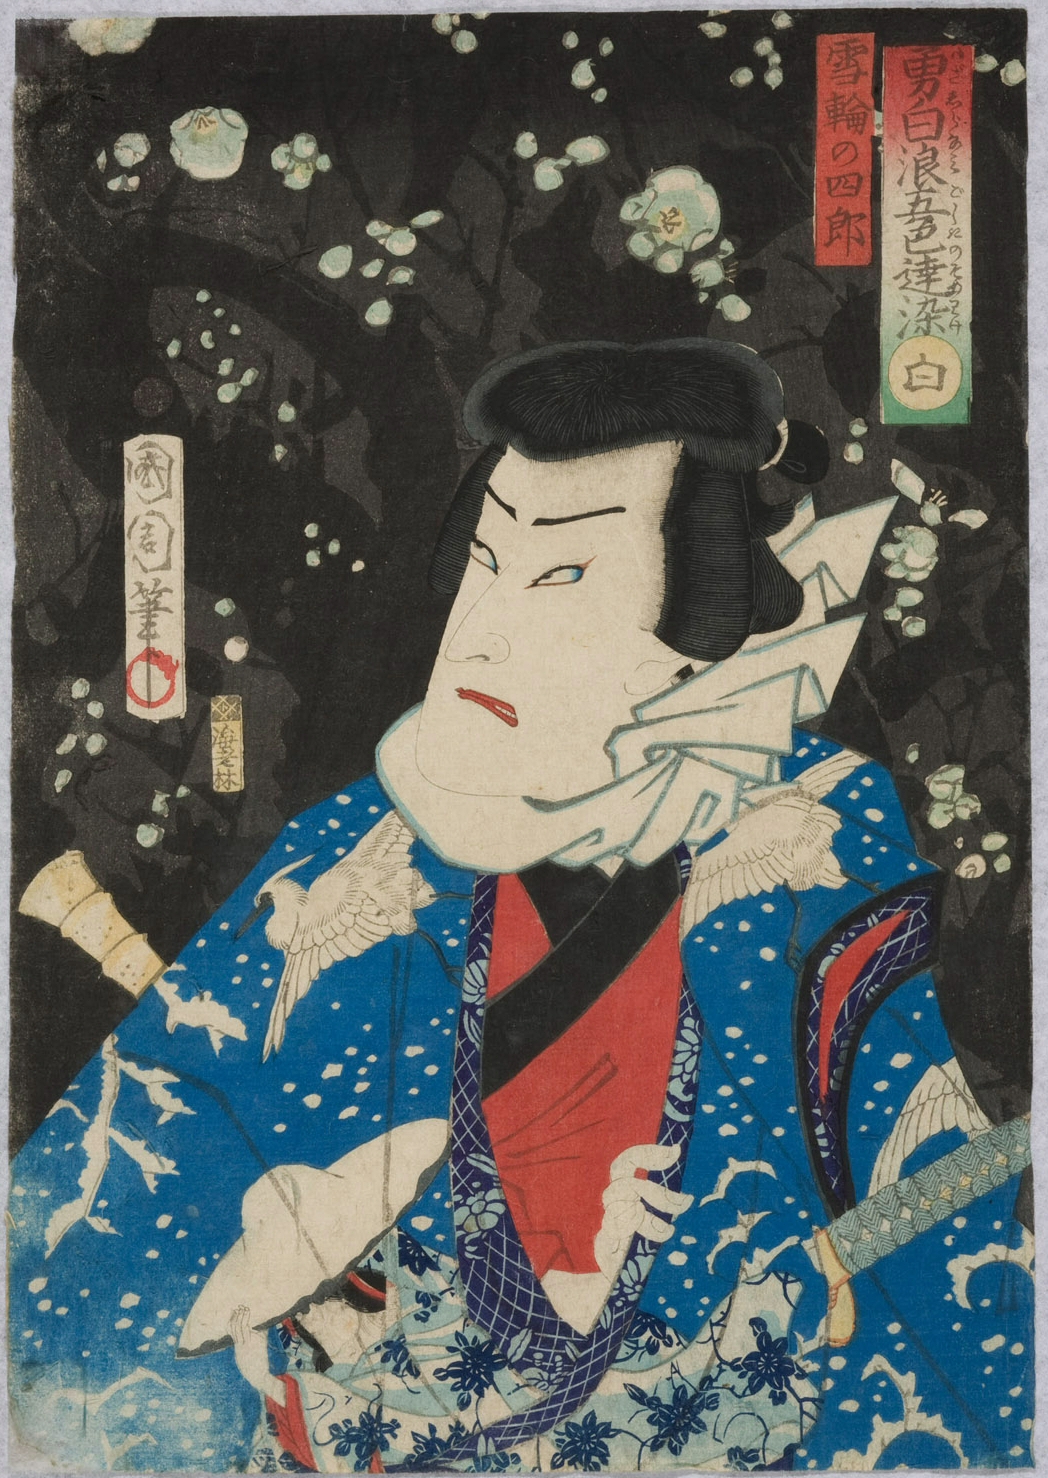
A Kabuki actor as the bandit Shiro in falling snow, from the play Five Courageous Bandits in Five Colors, white, 1850-1900.
Content Standards (California)
VPA/VA 4.4.4: Identify and describe how various cultures define and value art differently. VPA/VA 5.1.1: Identify and describe the principles of design in visual compositions, emphasizing unity and harmony. VPA/VA 5.4.1: Identify how selected principles of design are used in a work of art and how they affect personal responses to and evaluation of the work of art. VPA/VA 6.1.1: Identify and describe all the elements of art found in selected works of art (e.g., color, shape/form, line, texture, space, value). VPA/VA 6.1.4: Describe how balance is effectively used in a work of art (e.g., symmetrical, asymmetrical, radial). VPA/VA: 9-12.1.4: Analyze and describe how the composition of a work of art is affected by the use of a particular principle of design.
Materials
Video: Hokusai and Hiroshige; Other: styrofoam, piece of linoleum or SCRATCH-FORM (made by SCRATCH-ART) board; watercolors (in trays or tube sets); liquid dishwashing soap, preferably clear-colored; small plate for a palette; small paint brush; pencil or ballpoint pen; fineline black pen; white drawing paper (70 or 80 lb. if possible); masking tape
Procedure
Extension Activity
Ask students to write a poem (such as a haiku) or choose a quote to accompany their print to express a mood or image.
This activity was developed by Sherie Yazman, George Washington High School, San Francisco Unified School District (1998).
Activity
Activity
Activity
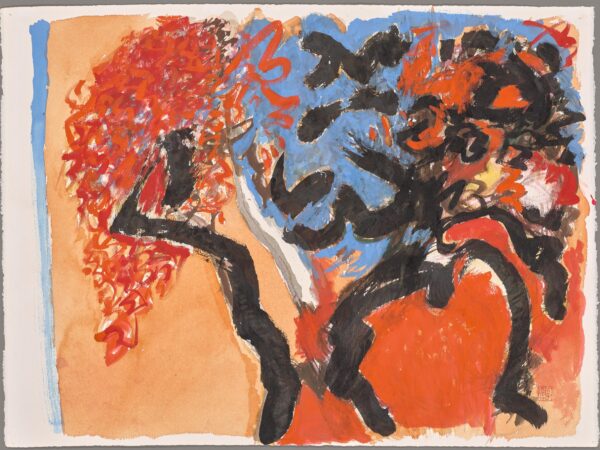
In this activity, you will create an art piece inspired by the work of Bernice Bing.
Activity
In this activity, you will explore Bernice Bing’s use of calligraphy in her paintings and then create your own!
Activity
Activity
Activity
Learn about the form of poetry called the pantoum and then write one of your own!
Activity
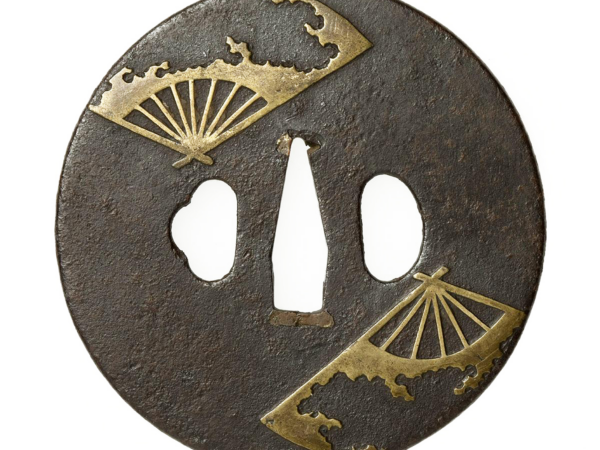
The imagery on a samurai’s armor expresses that samurai’s identity and source of inspiration or empowerment. Is there an image you connect with most?
Activity
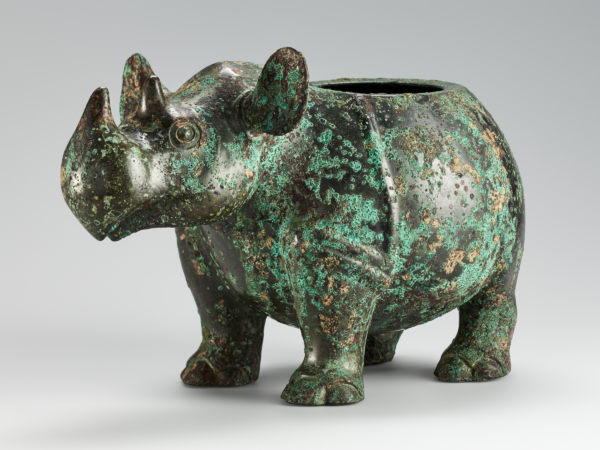
If you were to design a bronze vessel for a friend who has done something important for you, what shape would you make it? How would you decorate it? Would you use designs like the ones on the bronze vessels in the museum? What would you inscribe on it?